PDF Accessibility
Setting Up Acrobat
Important Tools in Acrobat
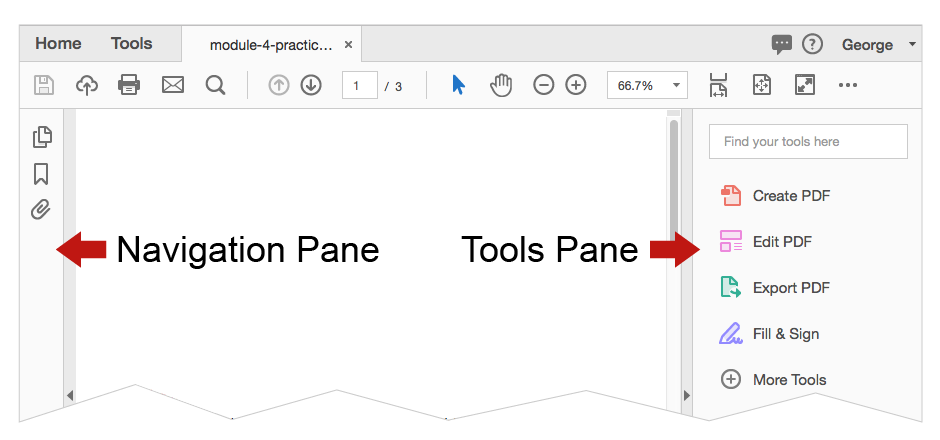
Adobe Acrobat Professional is the most common program to review and repair the accessibility of PDF files, but the essential accessibility tools are not visible by default. You must add them into your workspace. The "Accessibility tags" and "Order" panels must be added to the pane on the left side of the screen. The group of "Accessibility" tools must be added to the Pane on the right.
In Acrobat, a window that opens within a pane is called a "panel" (e.g., the Accessibility tags panel).
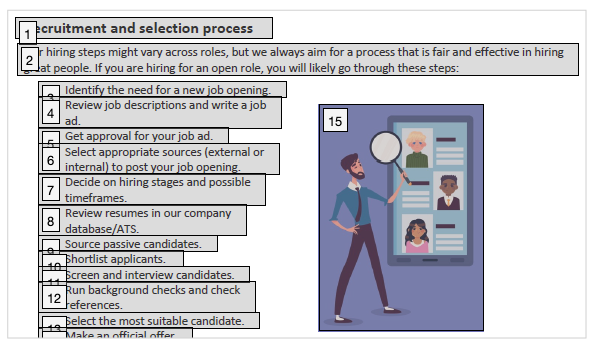
Below are some of the accessibility Tools that you will use regularly while reviewing and repairing PDF accessibility.
Accessibility Tags Panel
In April 2023, the name of this panel was changed from "Tags" to "Accessibility tags."
To show the Accessibility tags panel, right-click on an empty part of the Navigation Pane, and select from the menu.
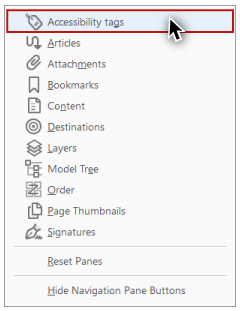
The Accessibility tags button is added to the Navigation pane and the panel opens.
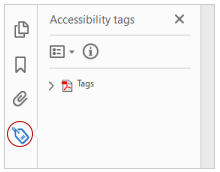
To show or hide this panel, click the Accessibility tags button. You can also add, show, or hide Navigation panes from the main application menu: > > Navigation Panes.
Navigating the Tags tree
The Accessibility tags panel allows you to view and reorder tags. This panel displays all the tagged elements in a document, organized in a tree structure.
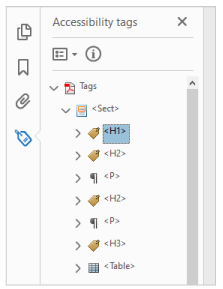
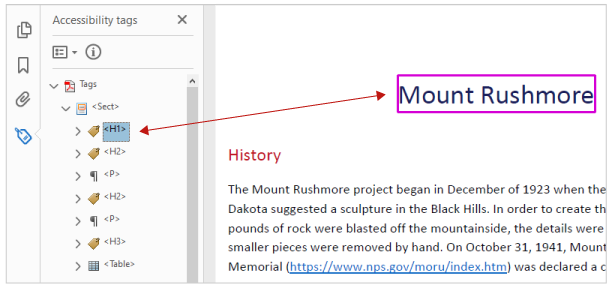
This tags "tree" can be navigated, expanded, and collapsed using a mouse, or with the keyboard using the arrow keys. Many of the tags are similar—if not identical—to tags in HTML. The most notable difference is the <Figure> tag, which is like the <img> tag in HTML. Selecting a tag should highlight the corresponding text, image, or other element on the Document pane.
Order Panel
The Order panel is also located on the Navigation pane.

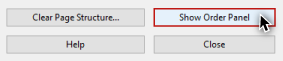
To add this panel, right-click on an empty part of the Navigation pane and select "Order" from the menu. This tool can be shown or hidden by clicking its icon. It can also be shown by selecting the "Show Order Panel" button on the Reading Order tool.
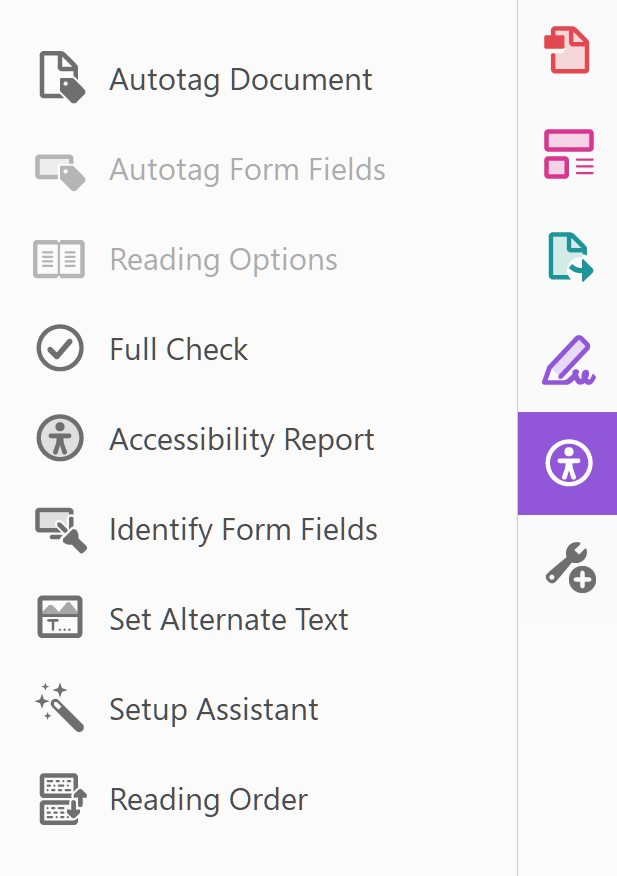
Accessibility Tools
To add the Accessibility tools to the Tools pane, click the tab in the top-left of the window (located next to the Home tab on the toolbar). Find and click the button.
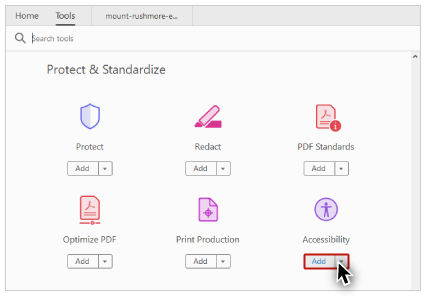
The button now appears on the Tools pane. Click it to open a group of tools in a side panel.
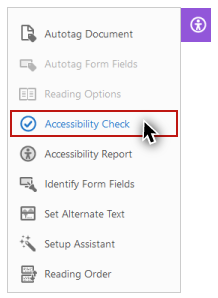
Accessibility Check
Use the built-in "Accessibility Check" tool to identify issues that need to be addressed. To run the checker, select from the Accessibility tools panel.
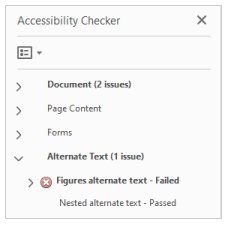
The results appear in the "Accessibility Checker" panel on the left side of the window.
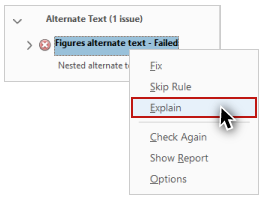
For additional information about an issue, it and select , and Acrobat directs you to online documentation that describes the issue, and often tells you how to fix it.
The checker will prompt you to manually check for contrast issues. Use WebAIM's Contrast Checker to ensure that your PDF meets WCAG contrast requirements..
It will also identify several other common accessibility issues, such as incorrectly-nested headings, missing alternative text, and issues with table headers. While the accessibility checker is useful to help identify accessibility issues, the best way to repair most of these issues is with the Reading Order tool.
Reading Order tool
The Reading Order tool helps you review and repair a document's structure. To use this tool, go to the toolbar and select . A dialog appears.

Tag types
The following table lists the labels on the most commonly-used buttons in the Reading Order tool, and the tag type associated with each button.
| Button | Tag |
|---|---|
| Text/Paragraph | <P> |
| Form Field | <Form> |
| Heading 1-6 | <H1>-<H6> |
| Figure | <Figure> |
| Table | <Table>, <TR>, <TH>, and <TD> |
| Cell | <TD> |
| Formula | <Formula> |
| Background/Artifact | [Removes the tag and converts the item to an artifact] |
Page content groups
By default, when the Reading Order tool is opened, the "Show page content groups" checkbox is checked.
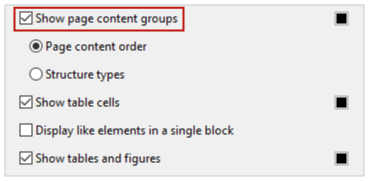
And the "Page content order" option is selected.
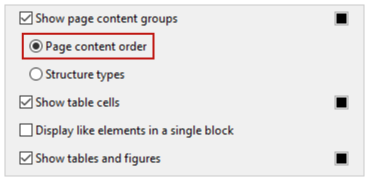
Each tagged item in the document is surrounded by a gray box called a "region." Each region has a label on its top-left corner with a number that indicates the item’s content order on the page.