Word 2016 for Mac
Creating Accessible Documents
Creating and Editing Headings
- Select the tab from the ribbon.
- In your document, select the text to convert to a heading.
- Click on the appropriate heading level in the in-ribbon gallery; e.g., .
- Headings 1, 2, or 3 can also be assigned using Command + Option + 1, 2, or 3, respectively.

Notes
Word documents with a true heading structure provide at least two benefits:
- The document retains this structure when correctly exported to HTML or PDF.
- The document's readability is increased for all users.
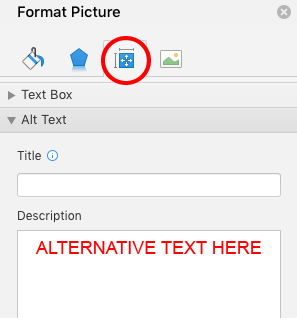
Adding Alternative Text
- Right-click on the image and select . A dialog box will appear.
- Select the option in the sidebar. Enter the appropriate alternative text in the field, NOT the field.
Creating Tables
- Use the command to create tables.
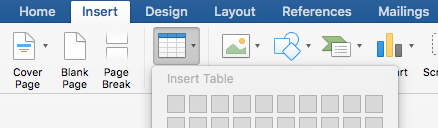
- Right click on the first row in the table and select .

Important
Do NOT create tables "by hand" with spaces or the Tab key.
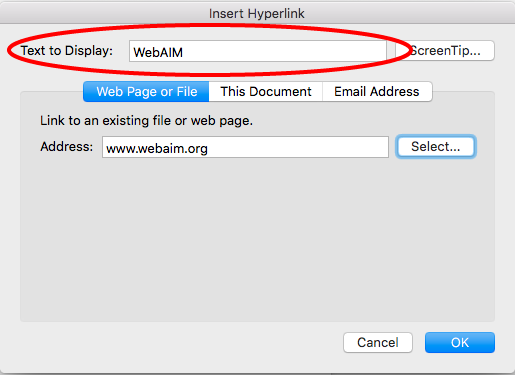
Editing Hyperlinks
- Select a hyperlink, right-click, and select or Cmd + K.
- Change the text in the field to a more meaningful description.
Creating Lists
- Select the tab on the ribbon.
- Select the or menu from the group

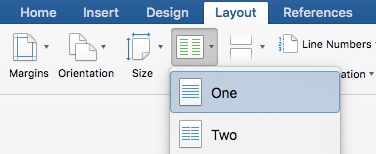
Creating Columns
- Select the tab on the ribbon.
- Select in the group.
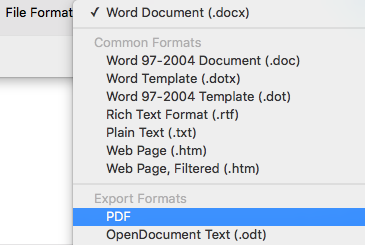
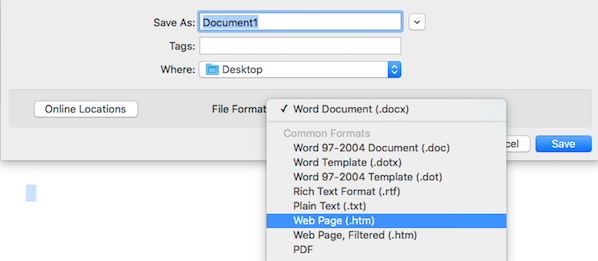
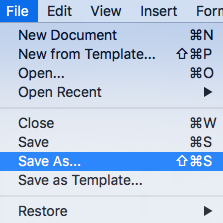
Saving as HTML
- Select .
- Choose one of two options for exporting to HTML from the drop-down menu:
Saving to PDF with Word
- Select .
- In the dialog, select from the drop-down menu.