PDF Accessibility
Accessible Forms in Acrobat
Overview
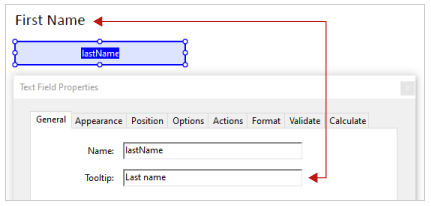
Compared to forms built in HTML, PDF forms have some inherent accessibility limitations. For example, in HTML a visible text label can be directly associated with its form field. In a PDF, the visible label must be duplicated in the "Tooltip". This Tooltip is read to a screen reader user while navigating the form.
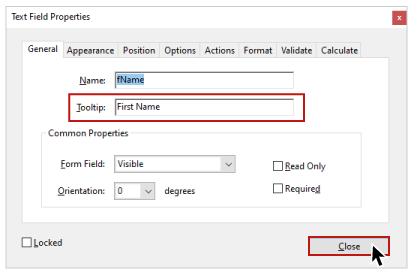
Because the visible label and Tooltip are not directly associated, their values can be different. For example, in this screenshot the visible label is "First name", but the Tooltip which is presented to screen reader users is "Last name."
These four steps are required to ensure the accessibility of a PDF form:
- Add the correct form fields to the PDF.
- Include text in the field that describes the purpose of the form control to a screen reader user.
- Add tags to the form fields.
- Check (and if necessary, repair) the tab order.
We do not recommend creating fillable forms in Word source documents. Better results are achieved by creating text labels and empty spaces in Word, and then adding the form fields in Acrobat.
1. Add Form Fields
To start creating a PDF form, select the tab and add to the Tools Pane.
Add form fields automatically
Acrobat can often detect labels and fields automatically with the Detect Form Fields and Prepare Form tools.
Detect Form Fields
Select from the Make Accessible Action Wizard steps.

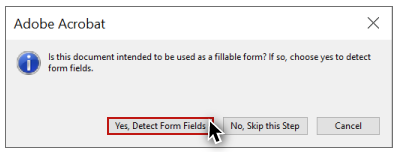
A dialog asks "Is this document intended to be used as a fillable form?" Click the button.
Prepare Form
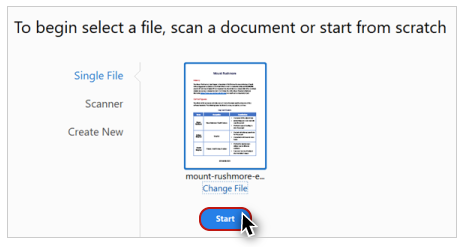
On the Tools pane select . This tool prompts you to select a file, scan a document, or start from scratch. If you see a thumbnail image of your document, labeled with its filename, click the "Start" button.
Add form fields manually
To add a form control manually, open the tools, and click on the desired form field type in the toolbar above the document pane.
![]()
The mouse cursor changes to a default shape for the field and is aligned to a cross formed by two perpendicular guide lines.
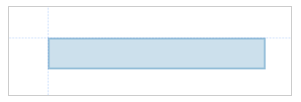
Click the mouse to place the field in the correct location on the page. Ensure the new form field covers the any visual indication of a form (e.g., a new radio button should cover a circle that already appears on the page).
Add a name to the Field Name box.
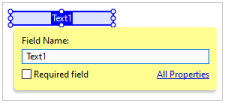
A descriptive name will probably be helpful when reviewing the form data later, but this name is not presented to screen readers.
Required fields
On the Field Name box (shown in the previous screenshot) there is a "Required field" checkbox. A user cannot submit a form until all required fields have a value. After an attempt to submit a form with an empty required field, Acrobat highlights the border of the field. To ensure that users with visual disabilities know a field is required, add descriptive text, such as "(required)" to the Tooltip value.
2. Ensure Every Form Field Has a Descriptive Tooltip
Open the tool, a form field and choose from the menu. The text in the value must be equivalent to any visible text that is functioning as a label for the field. Make any needed changes—or add the value if the Tooltip is blank—and then click "Close."
To check multiple Tooltip values, move the dialog to a place where it does not cover the fields, and click on each form field in the document to review and/or edit.
On the tab of the dialog, you can select a border and/or fill color for a form field. Ensure that there is sufficient contrast between the border and background colors, and between the text and fill colors. You can measure these contrast ratios using WebAIM's Contrast Checker.
Form field types
The following section provides additional details for specific types of form fields.
Text field
There are options within Acrobat to make a text field single or multi-line. Avoid the use of fonts that are fancy, overly-complex, or atypical, especially for multi-line fields. Text size should be a minimum of 11 points when possible.
Dropdown list
When a screen reader user enters a list, both the Tooltip and any default option within the list are presented. These menus can be navigated with the keyboard by using the arrow keys, or by selecting the first letter of the desired option.
Radio buttons
Radio buttons (a group of options where only one option can be selected) require additional information to ensure accessibility. The following information must be provided in the dialog:
- The must be the same for every radio button within the group. This groups the options together, ensuring that a user can only select one option within the group.
- The value should also be the same for every radio button in the group. This provides a shared label for each of the options. Because this information is read for each option in the group, it should be succinct.
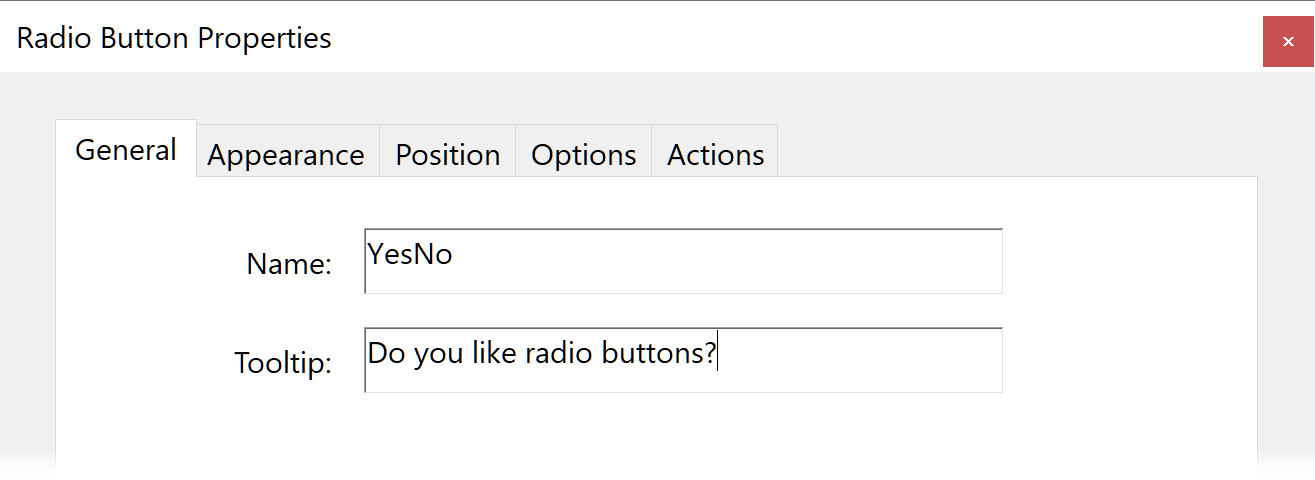
- Under the tab, the value must match the visible text that functions as a label for each radio button.
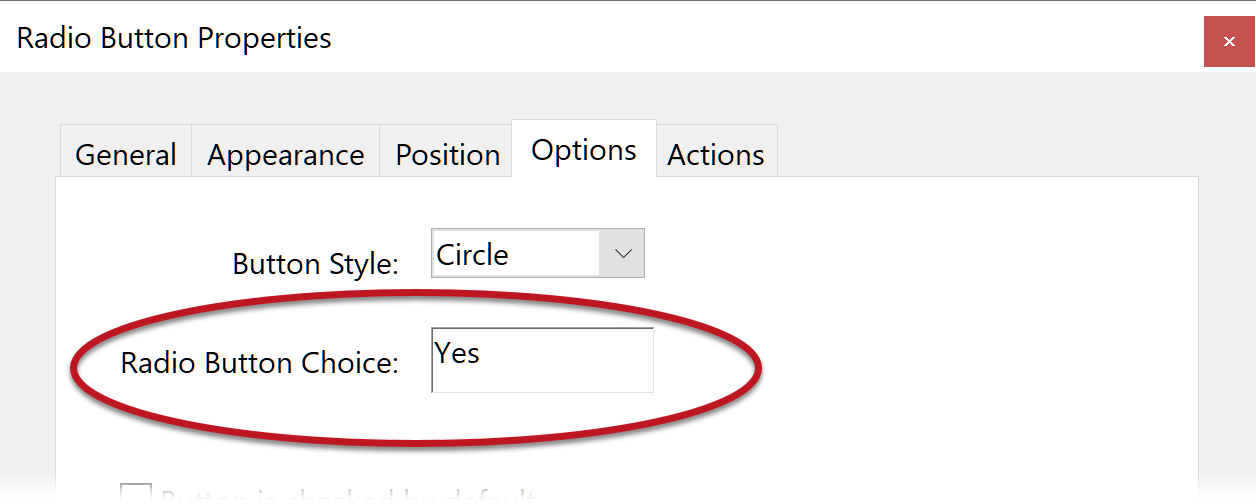
Both the and values are read to a screen reader user.
Checkbox
If a description for a group of checkboxes is present, this group description and the description of the checkbox itself (mirroring the visible label) should be defined in the .
Groups of radio buttons and checkboxes must have a description that is both sufficient, but also succinct. Descriptive text that is merely informative (e.g., "Check all that apply") should probably not be added to each Tooltip. A Tooltip that is very long could be defined for the first checkbox or radio button with a more succinct Tooltip defined for the others. Use your best judgment.
Button
To add text to a button, open the dialog, select the tab, and then enter the appropriate text in the option.
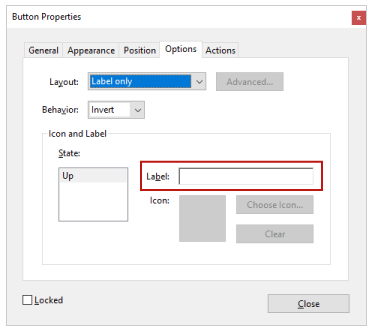
While the accessibility checker flags a button without a Tooltip as a "Field descriptions – Failed" error, we do not recommend adding tooltips to buttons. The button text is read by a screen reader, but if a Tooltip is provided it overrides the button text and could present incorrect or unnecessary information.
3. Add Tags to Form Fields
There is a significant bug in Acrobat—adding form fields to a page does not create the appropriate associated tags, so the form fields will not be presented to a screen reader user. Fixing this problem takes time and effort. Once the necessary fields and tooltips have been added, follow these steps to add correctly-ordered tags for the form fields:
- Select the button to exit the "Prepare Form" secondary toolbar.
- Open the tools and choose the option (skip this step if the option is disabled).
- Open the on the left side of the window, select the menu (
 ) > . In the Find Element dialog, choose from the dropdown menu, select the radio button, and then click the button.
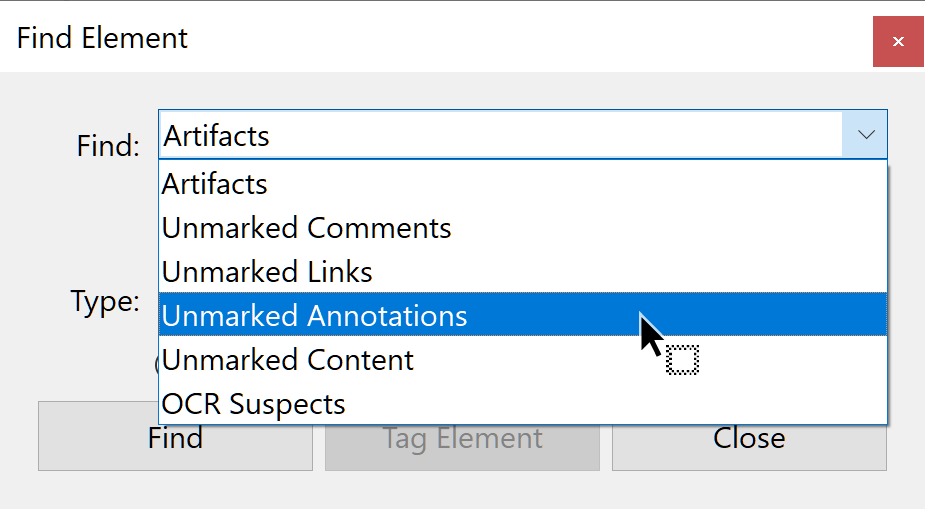
This should highlight the first untagged form field on the page. Select the button to open a new dialog. In the dropdown list, choose , and then .

Keep adding tags to form fields until Acrobat indicates that the search is complete. - Open the tool. Ensure the radio button is selected and uncheck .
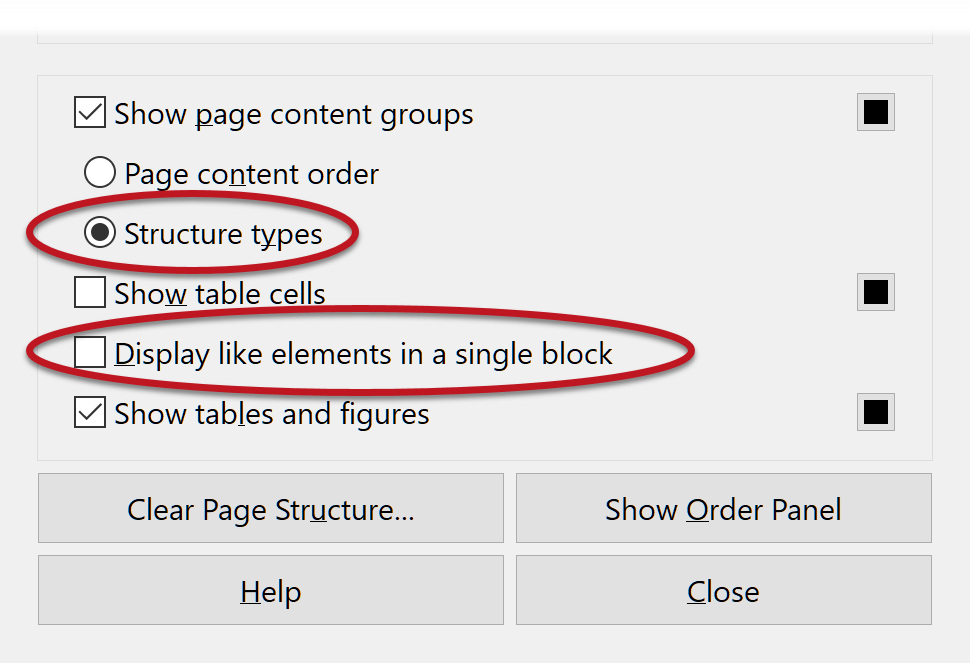
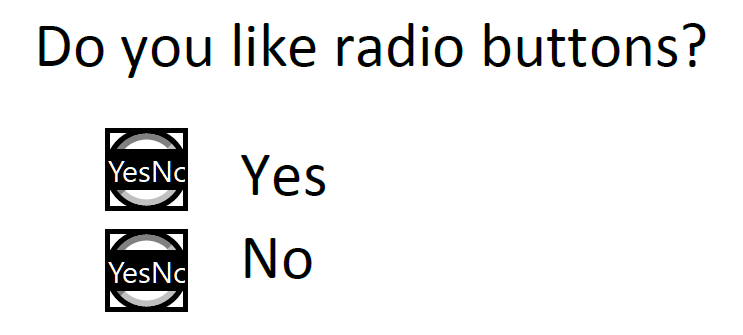
Check to see if each text label is in its own box. For example, these "Yes" and "No" labels are in a single box, meaning they also share a single tag.
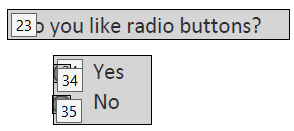
If this occurs, use the Reading Order Tool to place each label in its own<P>tag. - Review the order of the elements and repair if necessary.
- Select Accessibility Check from the Accessibility toolbar and ensure there are no issues related to forms. If "Tagged form fields - Failed" appears, untagged fields remain—repeat the above steps. If "Field descriptions - Failed" appears, click on the error to see where the issue occurs, and repeat this process. process for adding a descriptive Tooltip.
4. Check and Repair the Tab Order
Once the form fields are labeled correctly, and the structure order has been corrected, the keyboard navigation order of the form fields should follow the visual order, but it is still a good idea to double-check this. The easiest and most accurate way to test the keyboard navigation order is to save and re-open the PDF document, and then use the Tab key to navigate the form fields. Another option is to review the tab order within Acrobat.
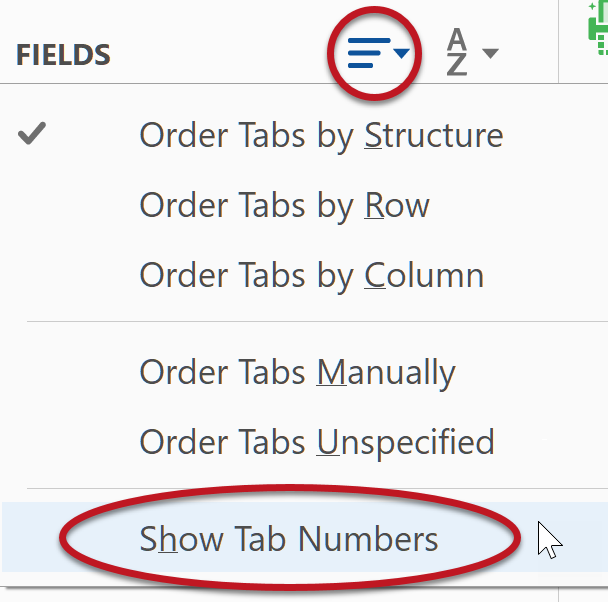
- Select and the bottom part of this pane displays a list of all the form fields in the PDF. Next to the Word "Fields" is a dropdown menu. Click this menu and make sure is checked (it should be by default), and check .
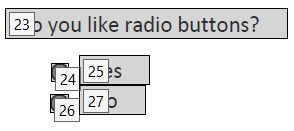
- Numbers appear within each form field outlining the tab order. If these numbers do not match the visual reading order, review and repair the content and tags order. There is an option to change the tab order of form fields manually, but you should always be able to fix the tab order by creating a logical structure order. If this is not working for some reason, return to the dropdown menu next to the word change "Order Tabs by Structure" to .
- Drag and drop the options in the panel to change the tab order. If you reorder forms, recheck the accessibility and repeat the steps in the previous section if necessary.
Other Principles
- When a screen reader enters a form, it usually switches to a different mode, often called "forms mode." While in forms mode, pressing the Tab key skips over content that is not a form control or link. For this reason, it is best to place important information or instructions that apply to the whole form before the first form field.
- Form error messages (e.g., an email field does not include a proper email address) are presented in a popup dialog. This dialog is accessible to screen reader users. Ensure the error message provides the information that a user needs to find and fix the error.